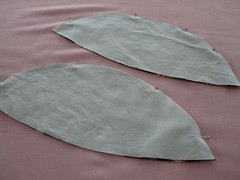
Step 4: Sew the Bodice
First I pinned the bodice right sides together.
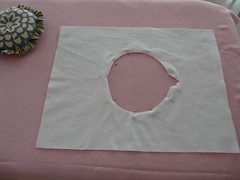
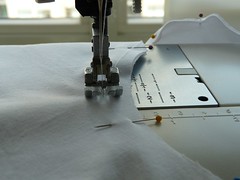
Then, I went to my sewing machine to get going I read the pattern and was not sure how I would be able to turn it right side out. Perhaps it was the day I was having. In any case, I trusted the instructions and decided to go for it.

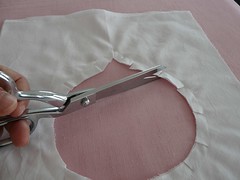
Then, I clipped the curved edges. Easy enough to do, just snip snip snip.
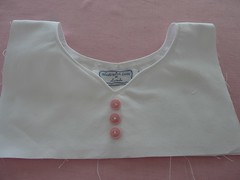
I then proceeded to turn it right side out and voilà it worked. I wanted to embellish the front a bit since the white bodice seemed a bit too plain. I opted for a simple design of 3 pink buttons. My princess always gets excited with a dash of pink. To do this, I separated the fabric from the lining so that the lining would have a smooth finish. I also added a tag "Especially made by Lucinda" I really need to get some new ones, but I will blog about that later.

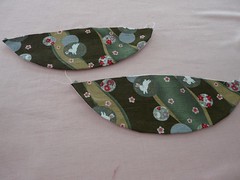
Step 5: The Sleeves
The step is fairly straightforward and does not require much thought. Basically just put one fabric piece and one lining right sides together. Sew the more rounded edge. Clip curved edges, turn right side out and press. Then, top stitch along the curved edge.
That's all for now, tomorrow I will take it a few steps further.
Hope you are enjoying my fun with Frida

No comments:
Post a Comment